
Tramway SDK 0.1.1
Github
Download
Installer (win64)
Portable .zip (win64)
Starter Template
Quick links
Home
Get Started
Adding 3D models
After becoming experts in the coloring of teapots, how about we replace the teapot model with something else?
First of all, make sure that you have
Blender either installed or
downloaded. After that, install the tram_dynamic_obj_export.py
plugin which can be found in the /devtools/exporters directory
in the main Tramway SDK repository.
If you have problems, or need a more detailed guide, take a look at the exporter plugin documentation page.
Creating and exporting a monkey
Step 1: Create the monkey
Look at the top bar. Locate the Add button. Then perform the Add » Mesh » Monkey selection. A monkey should appear in your Blender window.
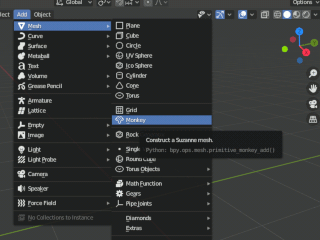
This is where you find the monkey button.
Step 2: Give the monkey a new material
Next we need to give the monkey a material. Add a material in the selection on the right side of the screen.
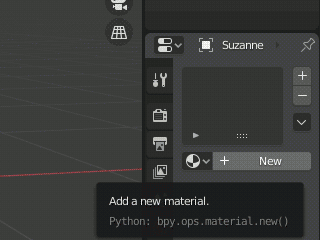
This is where the new material button is.
Let's give the monkey the same material as the teapot. Rename the new
material to teapot.
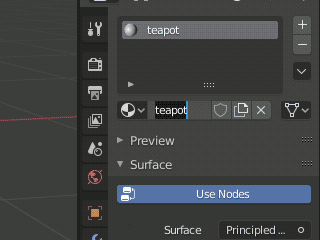
You can click on the name of the material to edit it.
Step 3: Export!
First, make sure that the monkey object is still selected. Now look at the top bar. Locate the Add button. Then perform the File » Export » Tram Dynamic Exporter selection. A file dialog should appear.
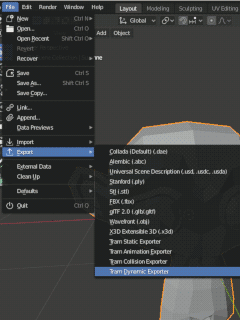
This is where you find the exporters.
You will need to save the monkey to the /data/models/
directory, so that the framework can find it. You don't have to name it
monkey.dymdl, just remember to keep the file extension and to
not put any spaces in the file name.
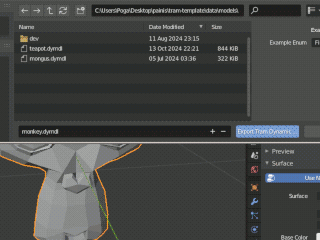
The big blue button. It does the export.
Replacing the teapot with a monkey
Now we just need to swap out the teapot for the monkey. Change this line of code:
	teapot:SetModel("teapot")

	teapot:SetModel("monkey")
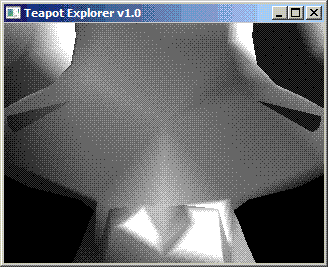
It appears that we are inside a monkey.
It appears that the default Blender monkey is much larger than our teapot. Let's resize the monkey, so that we can better appreciate it:
teapot:SetScale(tram.math.vec3(0.5, 0.5, 0.5))
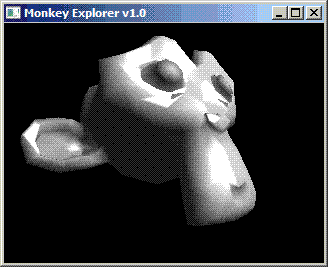
It is much easier to appreciate the monkey from the outside.
How to texture a teapot
Going back into Blender, create another model. Maybe it will be another monkey, maybe you will use Blender's teapot generation capabilities, or perhaps you will create your own.
Now comes the difficult part. Open up Tuxpaint or some other image editing program and create a texture. It's best if you use an image size which is powers of two, i.e. 32x32, 128x128, 256x128, etc.
Once it's done, save it in the /data/textures/ directory. I
decided to name it mybestwork.png.
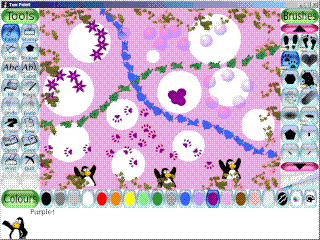
I am very proud of how this turned out.
Back in Blender, create the material the same way we did before. This time, make sure that you give it the same name as you gave that texture image. Once you do that, in the same material pane you should see a Base Color selection. Click on that and select Image Texture. Now click on Open and find that image.
The last thing left to do is to finish up the UVs. Enter edit mode by
pressing the Tab key. Select all of the model by pressing
Ctrl+A. Click on the UV button in the top bar and then
select Sphere Projection or some othertexture projection. Not use
Tab to get back into object mode and perform the export as
before.
Change the init script to load the new 3D model.
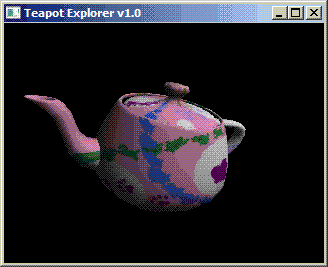
My favorite teapot.
Exercise
If you don't know how to already, learn to use Blender.
Exercise
Create a 3D model with several different textures. Load it into the teapot viewer.
| « Back | Home | Next » |


